Welcome to the world of Slalom! Slalom setups, like Long Distance Pumping (LDP) setups, can be quite cumbersome and often involve a bit more tweaking than the average longboard setup. This guide will hopefully eliminate some of the frustrations of putting a slalom setup together.
The following guide contains setup information that is common in slalom, but is definitely not the, "say all, be all" of slalom. Experiment with your setups. Trying new setups and combinations is one way in which longboarding (including slalom) continues to progress.

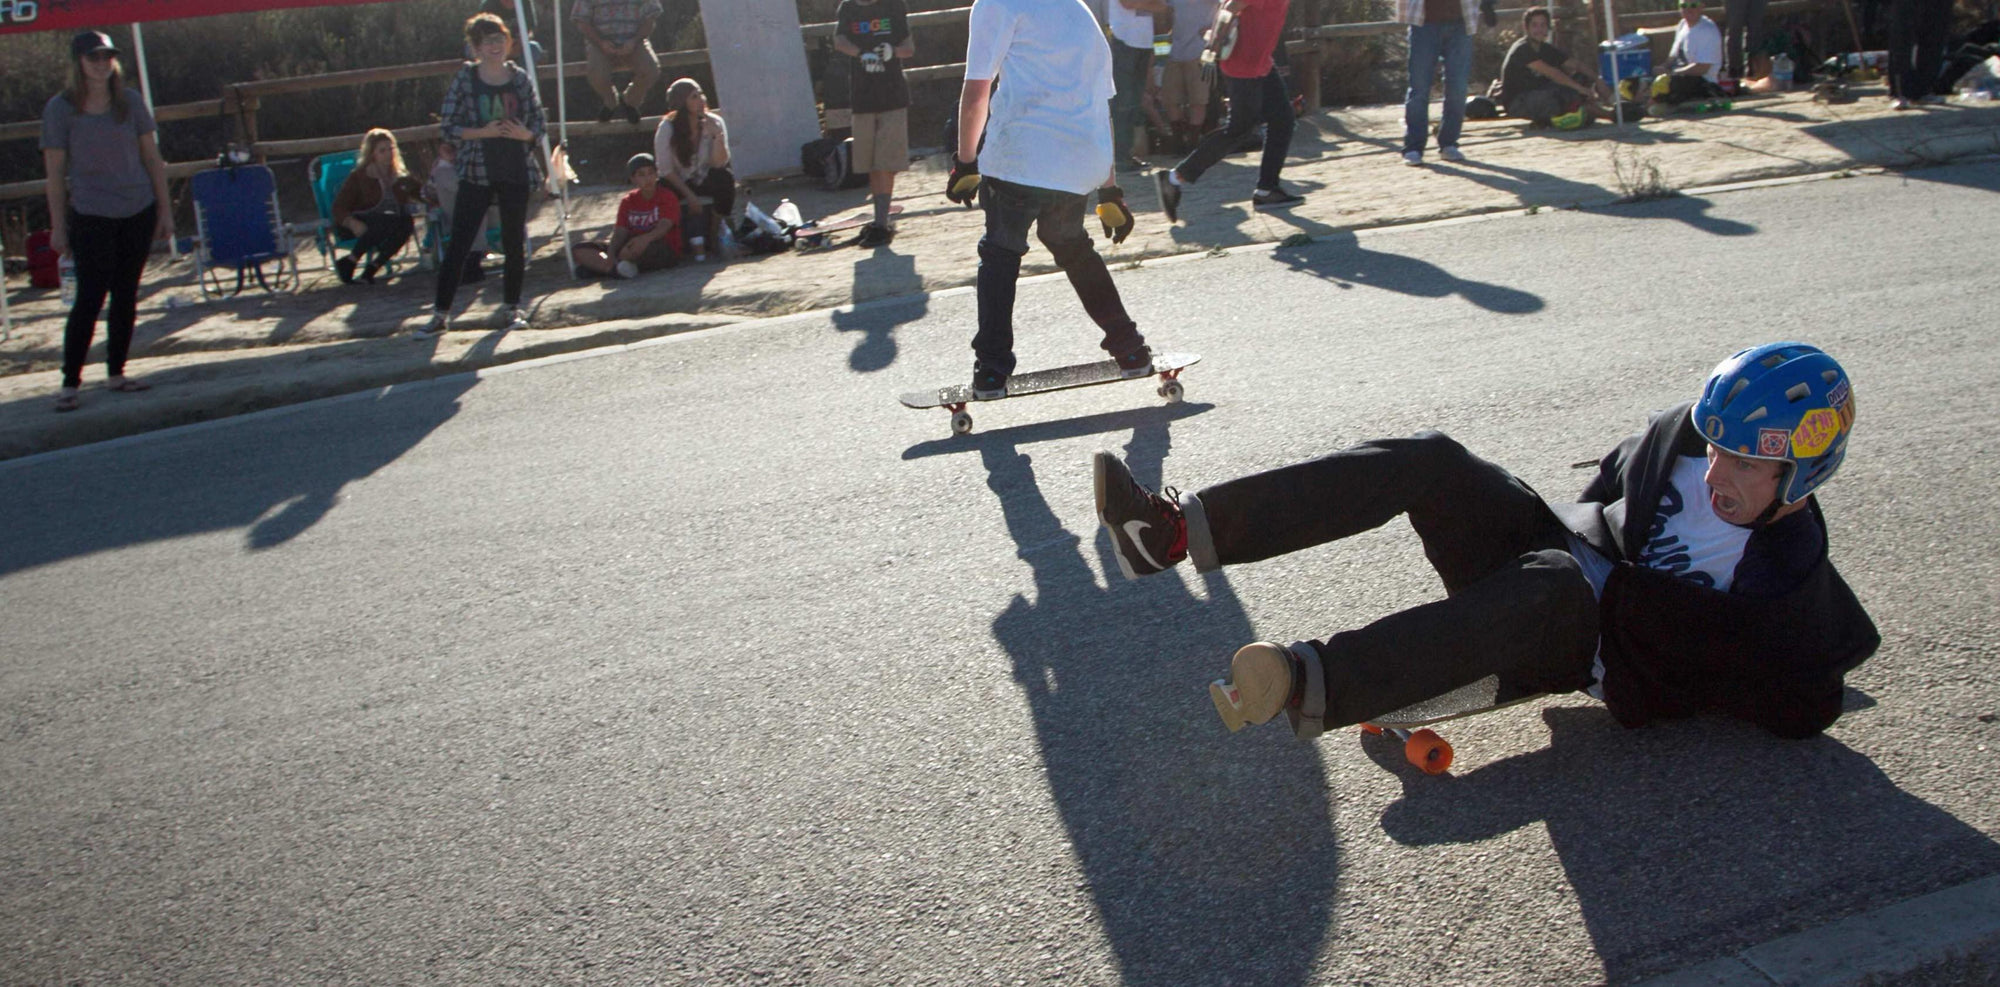
Russel Cantor blazing through the cones
Truck Angles
With any style of longboarding, the angle of your baseplates will make a huge difference in how your trucks perform. The simplest way to explain how your baseplate angle will effect performance is to keep in mind that the higher the angle, the quicker your truck will turn. However, the higher the angle, the less your truck will lean. The lower the angle, the less responsive your truck will feel. For more info on this, check out the lean vs. turn article.
A Khiro Wedge Kit is essential in nearly every slalom setup. The ultimate goal in a slalom setup is having a lively, responsive feeling front truck and a far less-turny back truck. The quick responsiveness of the front truck allows you to dodge cones while the reduced turn of the back helps maintain traction.
In addition to this, a high-turning front combined with a low-turning rear truck allows the rider to better pump the board in order to keep or gain speed throughout the course.
Wedging the Front Truck
One popular front truck for those just getting into slalom is the Bennett Vector 4.3. The Bennett Vector has a unique dive that makes it user friendly when first learning to dodge cones. Most often a Bennett is wedged 5 – 10 degrees.
After 10 degrees, the truck will become very twitchy, which is great for LDP, but will not lend itself as useful in slalom. The Tracker RTX is also an option as an affordable front truck. The Tracker RTX is angled at 15 degrees and will generally require anywhere from 10 to 25 additional degrees of wedging.
While the dive in Bennett Vectors make weaving through cones easier, they do not lend themselves the more linear feel of reverse kingpin trucks (RKP). Most top racers will be seen using RKP trucks because they have a more linear and responsive feel when properly wedged.
Though on occasion you will see racers use traditional king pin trucks (TKP) such as the GOG Homer. Unfortunately, for those looking for more affordable options, there are currently no cast RKP trucks being sold that are in the 100-110mm width range.
Popular front trucks are the GOG Foxy/Classic, the Radikal Claw, and the Don't Trip Slalocybin front truck. With many of these RKP front trucks, common angles range from 55 – 70 degrees.
As briefly noted before, the higher the angle, the more responsive (or "twitchy") the truck will be. Riders often choose the angle of their front truck depending on what type of course they are riding. It is more common to see higher angles in front trucks for tight slalom than it is giant slalom, for example, because tight slalom requires much quicker turning and reactions than giant slalom.
As an example, my tight slalom front truck measures at 67 degrees, my hybrid slalom front truck (pictured below) measures at 65 degrees, and my giant slalom front truck measures at 60 degrees. Again, these are just general guidelines for front trucks. There are some riders who may prefer a 60 degree truck for tight slalom for example.

Front truck wedging
Wedging the Rear Truck
There tends to be slightly less variation in how riders wedge their rear truck. A total baseplate angle of 10-20 degrees is most common.
If your board is not totally flat or does not have a foam core, additional wedging will be needed to "even out" the rear truck. The rear truck on slalom decks are almost always mounted under the tail of the deck. Putting the truck on a kicktail essentially wedges your rear truck.
For example, the tail on the AXE 2.5 deck by Sk8kings pictured below has a tail that measures around 11-12 degrees. Thus, you need to add 11-12 degree of wedging simply to put your truck back at its original angle, which in this case is with the Slalocybin by Don't Trip Skateboards is 20 degrees. Now you can add as much wedging as you feel necessary to get in that 10 – 20 degree range.
I prefer around 12 degrees for my rear truck. In the picture below, the bottom riser is roughly 7 degrees, the next one is 10, and the top one 4. 7+10+4= 21 degrees. The tail of the particular board pictured below is about 12 degrees. So… 21-12 = 9; that means I have added about 9 additional degrees of dewedging.
That Don't Trip Slalocybin rear truck has a 20 degree baseplate, thus with the dewedging factored in, I now have the truck sitting at roughly 11 degrees.

Rear truck wedging
The lower degrees used in rear slalom trucks will prevent the truck from turning as much, while still leaning plenty. Refer to the turn vs. lean article for a more detailed explanation about the effects of wedging.
Slalom Truck Choice
A popular "beginner" slalom rear truck is the Tracker RTS. The goal with dewedging most rear trucks is to get the kingpin to face vertical (or nearly vertical). With a 15 degree baseplate, a Tracker RTS requires quite a bit of wedging and longer hardware (such as 3" bolts), but it can be done! However, for this reason, many high-end rear trucks are normally manufactured with a 20 degree baseplate (or adjustable baseplates!)
Most slalom trucks are between 100 – 110 millimeters, axle to axle. High end slalom trucks often have a spherical bearing in the hanger and/or baseplate. The spherical bearing allows for more precise turning, giving you the most efficiency and return out of your pumps.
Nearly all high-end, rear slalom trucks have an in-line axle. That means the axles are in-line with the bushing seat. This allows for greater traction since it allows you to place more – and equal – pressure to the wheels and bushings.
I briefly mentioned common slalom trucks, but I'll mention them again here.
Beginner and Budget Slalom Trucks:
Bennett Vector 4.3 (front truck)
Tracker RTS (rear truck)
Precision and Higher-End Slalom Trucks:
Don't Trip Slalocybins (front and/or rear)
GOG Foxy/Classic front (front)
GOG Homer (front)
GOG Mitchell (rear truck)
Radikal Dragon Claw (front truck)
Radikal Dragon Tail (rear truck)
Splitfire Trucks (usually used as a rear truck, but can be used as a front)
Airflow Trucks (rear)
CZ Trucks (front and/or rear)
161 Trucks (front and/or rear)
2X Trucks by Sk8kings (front and/or rear)
Unfortunately, some of the truck models listed above are not currently in production.
Slalom Bushing Choice
There is a large amount of variation of the bushings slalom skaters use. So let's just discuss the basics.
Front Truck: SOFT bushings! 70a-80a bushings are most common in the front truck. 74a and 77a Reflex Bushings. Reflex bushings are very common as are RipTide Bushings in their respective durometers. RipTide Bushings are also good for younger/smaller riders who are looking for bushings softer than a 74a durometer.
For bushing shape, there is a ton of variation. Some riders used double inverted cones, other use a barrel/cone combination, and many also use double barrel combinations. Your bushing choices are going to come down to preference based on your riding style, weight, and the angle you ride your front truck at.
With the back truck, there is less variation in most cases. Most skaters use bushings 90a and up. Eliminator style bushings (such as those offered by Venom) and barrels are used. Cone bushings are no bueno in rear trucks.
Slalom Wheels
Of course grip and traction is key in slalom. You need wheels that you can be confident won't slip out on you. There is a large variation in slalom wheels being used by racers today. Most of these wheels however, share many common properties such as the shape, size, and durometer.
A list of commonly used slalom wheels are:
Abec 11 ZigZags (Reflex formula)
Abec 11 BigZigs (Reflex formula)
Cult Death Ray and Daredevils
Gravity Blazers
Landyachtz Hawgs Mini Monsters
Landyachtz Hawgs 69mm
Sector 9 Race Formula Wheels (69mm or 72mm)
Seismic Hot Spots 69mm
3dm Avalons
Venom Cannibals
What you'll notice about all these wheels is that they have an offset core and have a sharp, flexible, square lip. A good all around wheel size is 69-72mm. Smaller wheels (around 65mm) are sometimes used where quicker acceleration is needed (for short courses) or for extremely technical tight slalom courses. Wheels bigger than 72mm are more likely to be used for giant slalom, especially for bigger hills and longer courses when there is enough time for your wheels to gain maximum top speed.
Many slalom skaters split the durometer they use for the front and back trucks. For example, using 83a wheels in the front and 80a in the back. The idea behind using different durometers is that with the softer wheels in the back, you get the grip you need, while the harder wheels in the front (where traction issues are less common) are supposed to provide a bit more roll speed. In theory, if the riding surface is smooth, a harder wheel will roll slightly faster than a softer wheel. This is not to say that you can't ride the same durometer wheel all-around though! Plenty of riders are successful with 80a wheels in the front and back for example. The typical rider skates a 77-80a durometer in the back and an 80-83 durometer in the front. On occasion, you will see skaters riding below or above the ranges I mentioned.
The Slalom Deck
For the most part, there is little variation in the general size and shape that are most commonly seen. Most slalom boards are between 30-34 inches. For giant and super giant slalom, you might see boards an inch or two bigger.
Wheelbases used typically range from 18 – 24 inches. The smaller wheelbases are generally used for tighter courses and at lower speeds, longer wheelbases are for giant slalom, and mid-range wheelbases (20/21 inches) are typically used for something in between, such as hybrid slalom or high-speed tight slalom. Decks being made today tend to have a pointy nose. Most decks have concave as well, some more aggressive than others.
Most decks also have a tail and/or wheel flares. An effective tail gives your rear foot a "pocket" which a lot of skaters find helpful when trying to pump aggressively. Foot stops are also very useful and common in slalom.
Some decks are made of wood, some are a composite of carbon fiber and wood, and others are completely fiber carbon - which makes the decks very light. While some older slalom decks had small amounts of flex, current trends are leading towards deck with little-to-no flex at all.
Some notable brands for slalom decks are:
AXE
Fullbag
JBH/PG
Subsonic
Kebbek
Skaterbuilt
Pavel
Pocket Pistols
Sandwich Tech

The complete slalom set-up
So there you have it! A basic guide to getting all geared-up for slalom. Don't forget to buy some cones while you are at it. Light plastic cones are great because they do a good job "plinking" out of the way, decreasing the chances of them getting caught under your wheels or under your board - the bottoms are round instead of square and there's no base of the cone to roll over.
Anything we missed? Let us know on our contact page!

