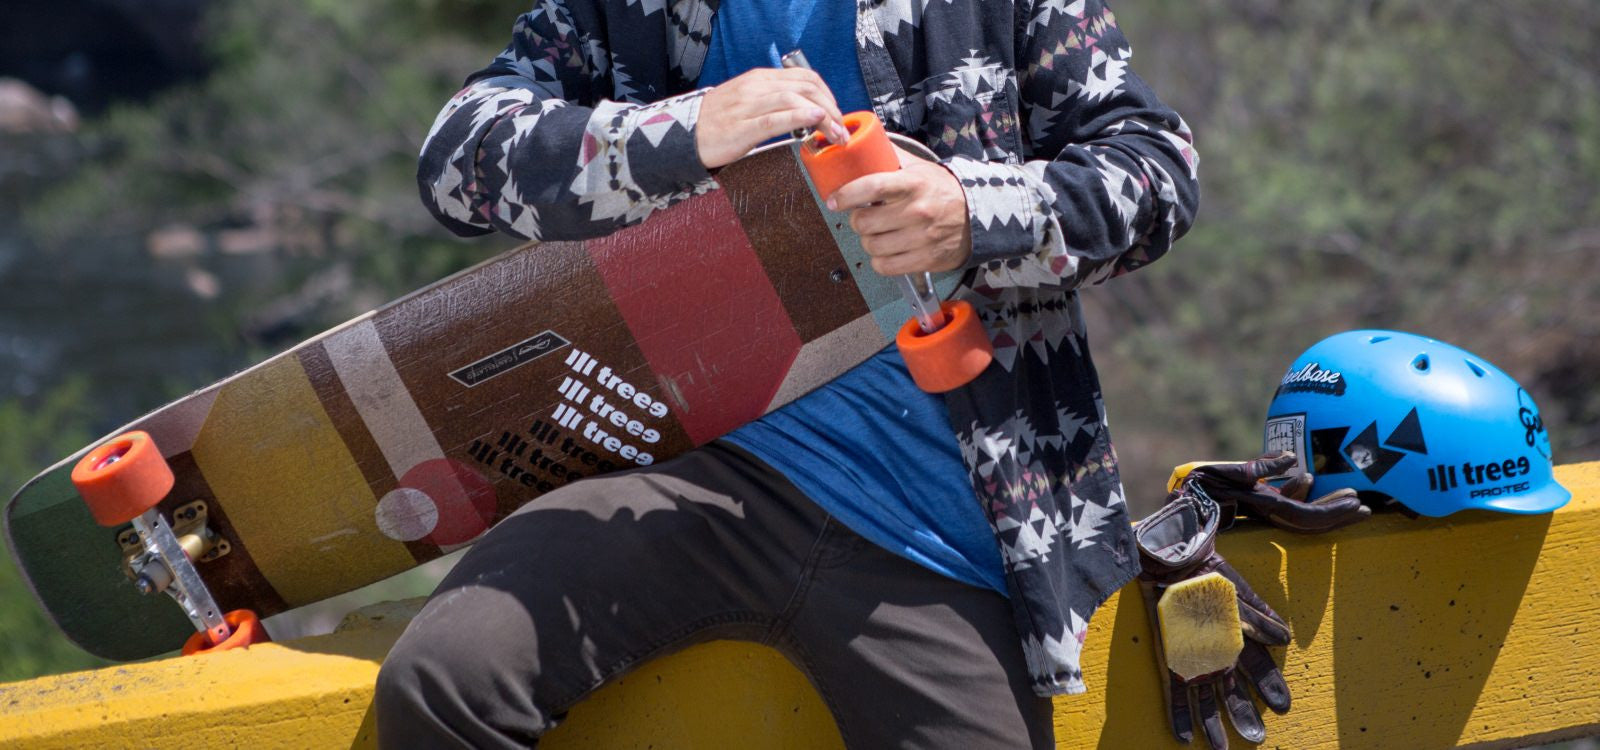


Patrick Switzer’s perfect speed tuck.
Words By 57 Time IDF Champion – Ryan Maffioli
What a Speed Tuck Is
To those who are completely unfamiliar with the entire concept of the speed tuck, the most simple definition is: an aerodynamic positioning of the body and ligaments in order to achieve minimum wind resistance. The speed tuck is commonly used during downhill racing, but can also be used, to an extent, during freeride and other forms of riding. The main idea of a speed tuck is to close off all “pockets” in the body, which are present during other ways of standing, in order to reduce the amount of drag the rider endures. Pockets are areas in between body parts which cause drag and wind resistance as a result of the body parts being too far apart, and creating an opening.
Now, the speed tuck, like many things in the longboard world, comes in many shapes and sizes. Due to each person being a different height, and having different length body parts, every person’s speed tuck is going to be slightly different.
How To Speed Tuck
Okay, now here is where things can get a bit confusing. I uploaded a picture directly above this post, in which you can see Patrick Switzer’s perfect speed tuck. I always recommend that people model their speed tuck after that of Patty as a general guideline.
We’ll go ahead and start from the feet and work our way up.
So for starters, you want to have your front foot at roughly a 45* angle, and your back foot at whatever angle you like. Many riders prefer to have the heel of their back foot off of the board for the sake of comfort, but others claim that putting your heel down is more aerodynamic. As far as I am aware, the back heel really makes no difference, so I recommend doing whatever is more comfortable.
As you work up to your knees, you want to have your front knee at as close to a 90* angle with your deck as possible. With your back leg, you either want to tuck your back knee into the back of your front knee, or into the calf of your front leg. This comes down to personal preference, but I personally tuck my back knee into the back of my front knee.
Oddly enough, the next thing up from your knee is going to be your chest. This is going to be the most important part of your speed tuck. You want to close the space between your knee and chest completely, and then place your head directly on top of, or in front of your knee cap. You want to make sure that once this is done, your front knee and leg are still close to, or at 90*, as this is the time when your front foot is likely to shift. You also need to ensure that in your current speed tuck position, you have full visibility, even with your helmet.
In terms of height, your head will most likely be sitting slightly higher than your chest. As stated above, you want to have your head resting on top of, or slightly in front of your front leg’s kneecap. The most important aspects of your head during a speed tuck are using your chin to close the gap between your head and your front leg’s knee, and maintaining visibility.

Here you can see how the helmet is supposed to extend slightly past, or on top of, the front knee.
The next major body part above your head is going to be your arms. Now the arms sit about mid-top level of your head in terms of height. You typically want them at as close to a 180* angle as you can possibly achieve. You then want to interlock your fingers behind your buttocks. The key here is to ensure that you have as little bend in your elbows as possible.
The last major body part you have to worry about while perfecting your tuck is going to be your back. The way people tuck is typically with either a rounded back, or a flattened back. The rounded back is typically more comfortable, but will generally cause you to sit a tad bit higher. The flattened back will extend your shoulders, and probably make you drop your rear knee into the calf of your front leg. This makes your tuck longer lengthwise, but lowers the overall height.

Here you can see Maxx Capps in a very high tuck, as his rear leg sits in his front knee.
Why You Should Speed Tuck
As I stated above, speed tucking is commonly used in downhill racing, especially by those competing on the pro circuit. When money and huge rewards are on the line, every bit of help counts. Speed tucking can definitely make a significant difference in speed during races, especially during races that feature a lot of gripping, with minimal sliding or drifting.On hills like Maryhill, where riders are capable of gripping every single corner, aerodynamics definitely come into play. The entire course consists of straights and grippable corners, so aerodynamics can help in winning a heat. Because the riders are given the opportunity to maintain a speed tuck the entire race, riders can maximize the time they spend in an aerodynamic position.
Whereas on hills that require tons of drifting, the rider is rarely gets the opportunity to be in his or her speed tuck for very long. As a result, aerodynamics do not play quite as large a role. Aerodynamic positions are very difficult, and near impossible to maintain while drifting a corner.

Patrick Switzer has won Maryhill for the last 2 consecutive years.
Aerodynamic Helmets
You may often see some of the pros wearing helmets that do not look like your standard full-face helmet. This is because some helmets are designed to maximize aerodynamics, and feature an odd shape as a result. Because of the odd shape, the safety of the helmet often suffers. Here at Stoked, we do not recommend riders to wear aero helmets due to the safety risks.For the most part, aero helmets accomplish two things. The first is helping in close the gap between the head and the knee. Often times, the aero helmets feature a large bottom piece which covers the chin, and even extends beyond the chin. This helps to eliminate the “pocket” between the chin and knee.
The shape of the aero helmets also aid in making the rider as aerodynamic as possible. The shape of the helmet is often made to minimize wind resistance and increase overall speed as well.

How To Get Good At Speed Tucking
Chances are that your first few attempts at speed tucking will be uncomfortable, and full of air pockets. Perfecting your speed tuck is going to take lots of work and adjustments, so I highly recommend having a mirror handy.Once you have found your ideal speed tuck, you are going to need to get comfortable with you tuck. Just because speed tucks can make you go faster, does not mean they are very comfortable. In fact, they are quite uncomfortable in general. You will quickly find that there are tons and tons of other positions that are significantly more comfortable, but are going to be much less aerodynamic.
I recommend finding a nice day to sit in front of you television and watch a full day’s worth of your favorite show. However, during this time, stand in your speed tuck position on top of your board, while watching the television. This way, you are able to practice getting comfortable in your tuck, while still being entertained. Always have a mirror handy, to ensure that your form isn’t getting sloppy.
Taking Your Tuck To The Hills
Once you are comfortable with your speed tuck in a stand still position, the next thing to do is take it to your favorite run. You’re going to notice that tucking is more difficult while moving, so I advise starting on a slower run. Not only is it difficult to maintain stability while learning to tuck, but your legs are going to burn pretty badly. This feeling never really goes away, and is pretty much just dealt with by most riders. Again, lots of practice is going to be necessary to perfect your tuck while moving, but you will eventually get the hang of it.The next biggest challenge is going to be taking your tuck through corners. This will feel quite odd, and will need some adjusting, but isn’t too difficult once you are comfortable with your normal tuck. For the most part, a tuck can easily be maintained through slower corners. However, once you get up to higher speeds, you typically tuck your rear leg in a bit, and erect your back to a certain extent. This making cornering at higher speeds a bit more stable.

Here you can see Douglas Dalua and Patrick Switzer taking their tucks through a corner.