Are you are trying to take a photo for your Instagram feed, for some kind of photo contest or to surprise your loved one? Don't know where to start? Well look no further! With these 5 simple tips and tricks you you will gain more followers, win the first prize in the photo contest and put a smile on your partner's face.

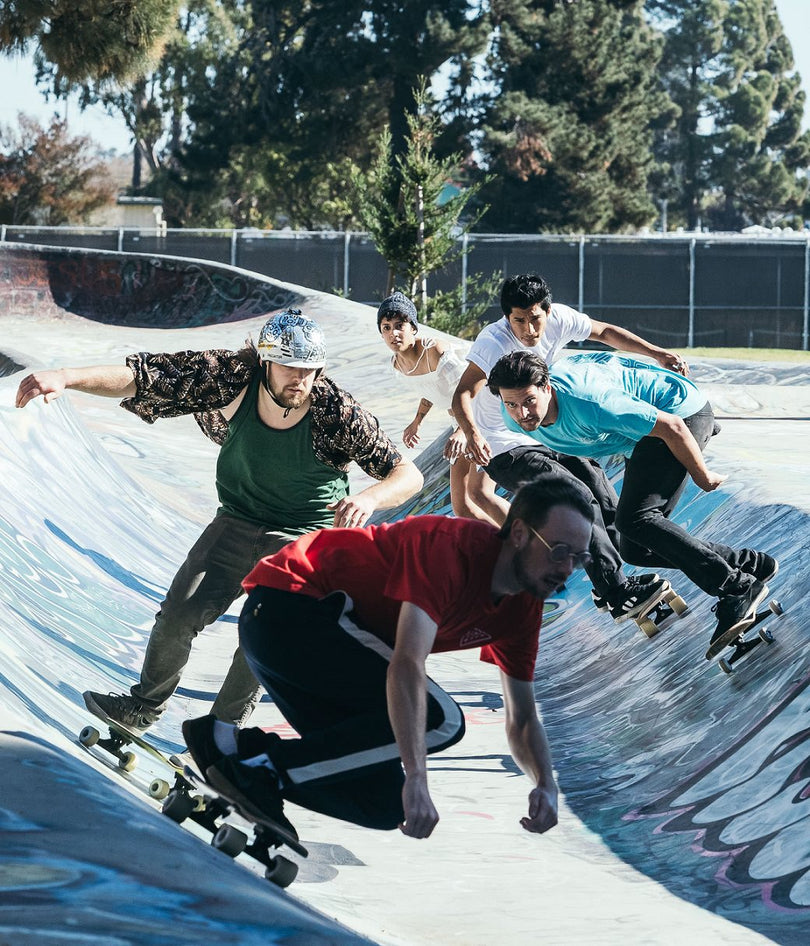
Maybe Forrest should have skated across America. Brandon Prugh created this image at an iconic spot from the movie Forrest Gump.
1. Straight Horizon
The 'H' in horizon stands for 'horizontal'. This is not a 100% accurate fact, but nevertheless you don't want your friends to think that you were, excuse my French, wasted when you took the photo. We as humans generally prefer straight, leveled lines over odd angles. Looking at a photo with a crooked horizon does not feel natural. You should always pay close attention to your scene, its surroundings and backgrounds, not just your main subject.

2. Importance of Light
The most simple way to give your photo a warm, pleasant vibe with vibrant colors is by shooting it in good light. Yes, this limits the spots and the times you can shoot during the day. But trust us, 99% of people prefer a photo with good light where the subject is visible instead of a shot taken in an obscure spot. So try to avoid cloudy days and shadows cast by big buildings. On a sunny day, you will achieve the best results in the morning and late afternoon. Try to avoid shooting at midday when the sun is right above you because that creates hard and awkward shadows.

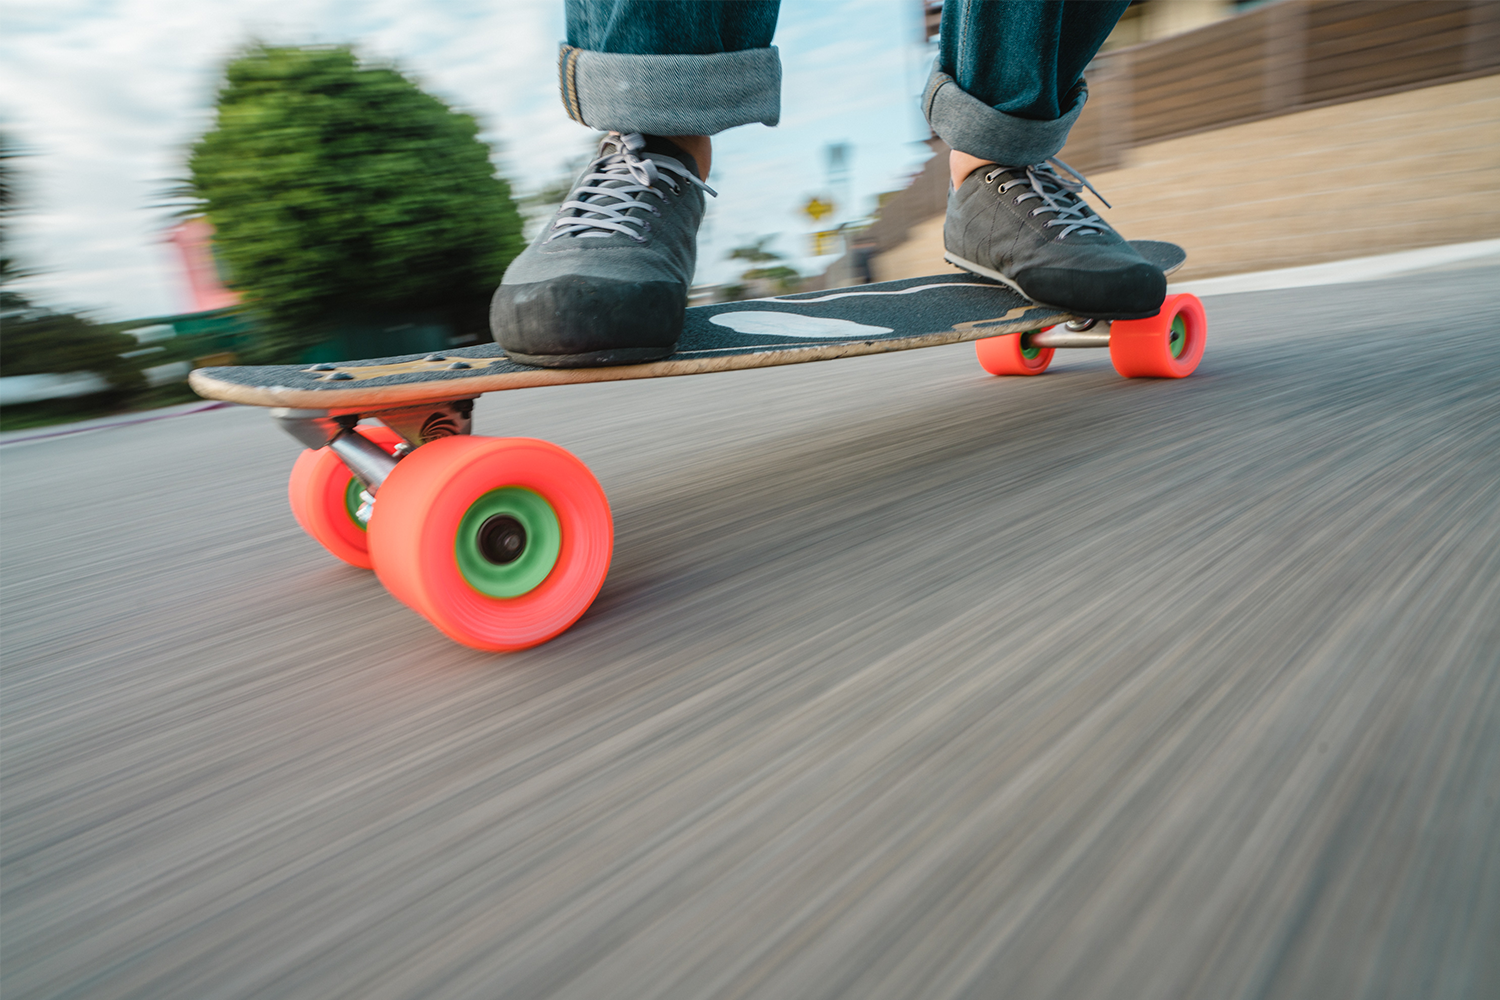
James Webster caught Brandon DesJarlais going sideways during golden hour.
3. Framing
We've covered the importance of straight horizons and now it's time to talk about framing. People have written books about this subject so it's impossible to cover everything in a basic tutorial. Here are the bare essentials.
First of all, you have to figure out what you will use the photo for. Is it going up on Instagram (meaning that you will possibly crop it into a square) or are you going to use it in its original format? Once you've envisioned the final product, it's time to take the photo.
The Rule of Thirds:
Imagine breaking an image down into thirds (both horizontally and vertically) so that you have 9 parts. Once you've done that you should place the points of interest in the intersections or along the lines. For longboarding specifically, it's good to place the rider in one of those intersections. If it is more of a close-up shot, then place the rider’s board or face in one of those intersections. This will enable the audience to interact with it more naturally.


4. DSLR vs Phone Camera
Phone cameras these days are incredible. Worry not if you don't own a professional DSLR camera. As long as you follow the tips in this tutorial, you can still create some amazing images on your phone. There are also lots of phone apps that can help you quickly improve your shots without exporting your images to a laptop or desktop.

5. Editing is a Must
You've framed a photo perfectly, your buddy did the most epic toeside and that sunset in the background is good enough to be your new screensaver. You are hyped to share the photo. But when you come home, you see that the horizon is slightly crooked. Don't panic! With some editing, you'll be able to resolve this situation and elevate the photo to a new level. Photoshop Lightroom sounds scary and complicated, but after playing around with it for a day most people get the hang of it. If you don't want to spend money on editing software, you can always just use the built in Instagram adjustments function. Another great app is Snapseed that has a very phone friendly interface. If you are looking for something like Photoshop but for your phone, we recommend PicsArt. It has a clone tool, warp tool and a bunch of effects. Just make sure you don't over edit your shot.
If you have any questions or suggestions don't hesitate to contact us. Even better, tag us on instagram @stokedrideshop if you've made a picture with the help of these 5 tips!


